What to Expect During the Roof Replacement Process
There will inevitably come a time when your roof needs to be replaced. While it’s not necessary to know every detail which goes into a roof replacement, a bit of knowledge will help you understand what’s going on above your head and let you better keep track of what your contractors are doing.
This article is a birds eye view of the roof replacement process – not a step by step guide for do-it-yourselfers. At the end you’ll have enough of an overview so that you will be able to speak confidently with your roofer and know where they are in the replacement process.
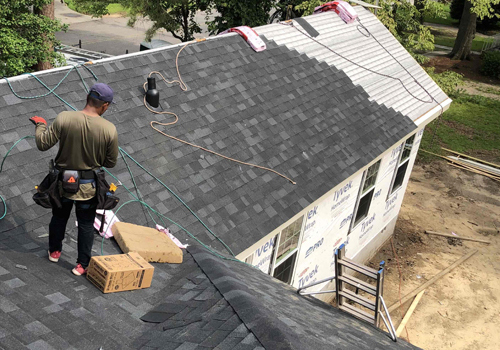
Choose a Roofing Contractor
Replacing your roof is a big job and it’s important to hire a qualified contractor to do it. Resist the temptation to hire the cheapest contractor available – remember that your roof is literally protecting your entire home from the elements.
We have an entire article on common roofing scams to look out for, but in brief: beware the storm chasing roofer. Reputable roofing companies don’t send their contractors out into neighborhoods after storms looking for work! We’re able to get enough business just by doing a good job and relying on word of mouth and positive reviews.
Always check online reviews before hiring a roofer, get multiple quotes, and ensure that whoever you hire is local, licensed, and insured.
Select your new roofing materials
Once you’ve chosen your roofer the next step is to select a roofing material. Asphalt shingles are one of the most common roofing materials, but other options include specialty shingles like GAF’s designer series, metal roofing, wood shakes, clay tile, and natural slate.
Depending on how your home is constructed, some options like natural slate, may not be viable choices. Your roofer will be able to help you determine which choices work best for your house.
Keep in mind that to take advantage of some high-end roofing product’s warranties, the roof needs to be installed by a certified installer. Check with your roofer to see what warranty options are available for the materials that they carry.
Protect your property
Prior to your installation, it is important to take some steps to protect your property. While your contractor will do everything in their power to prevent damage from occurring, they will be removing a significant amount of material from your roof. Additionally, they will be moving heavy equipment and ladders in and out of your property.
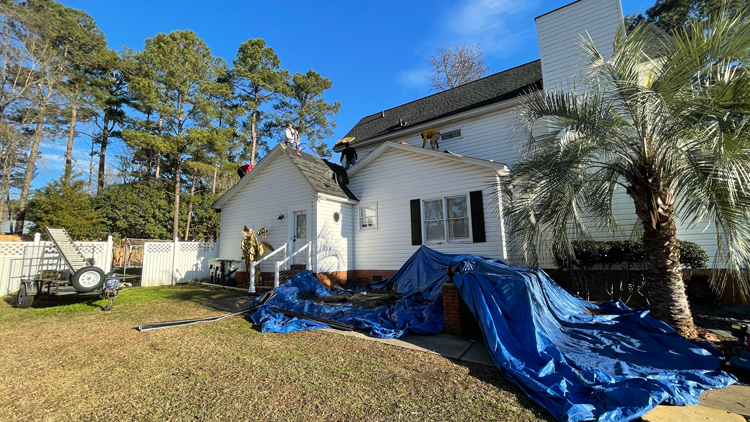
If possible, park your vehicle slightly down the street so your contractors are able to position their work vehicles and dumpster nearby. Remove valuable items from your patio or garden such as glass tables, grills, umbrellas, and outdoor heaters. Consider placing tarps or plywood covers on at-risk items that can’t be moved.
Providing a clear path to the side of your house will help the installation process move along more quickly. While the contractors are working, it is best to keep children and pets indoors. Between the possibility of falling objects or gates left often, allowing them outside poses unnecessary risk.
Tear off the old roof
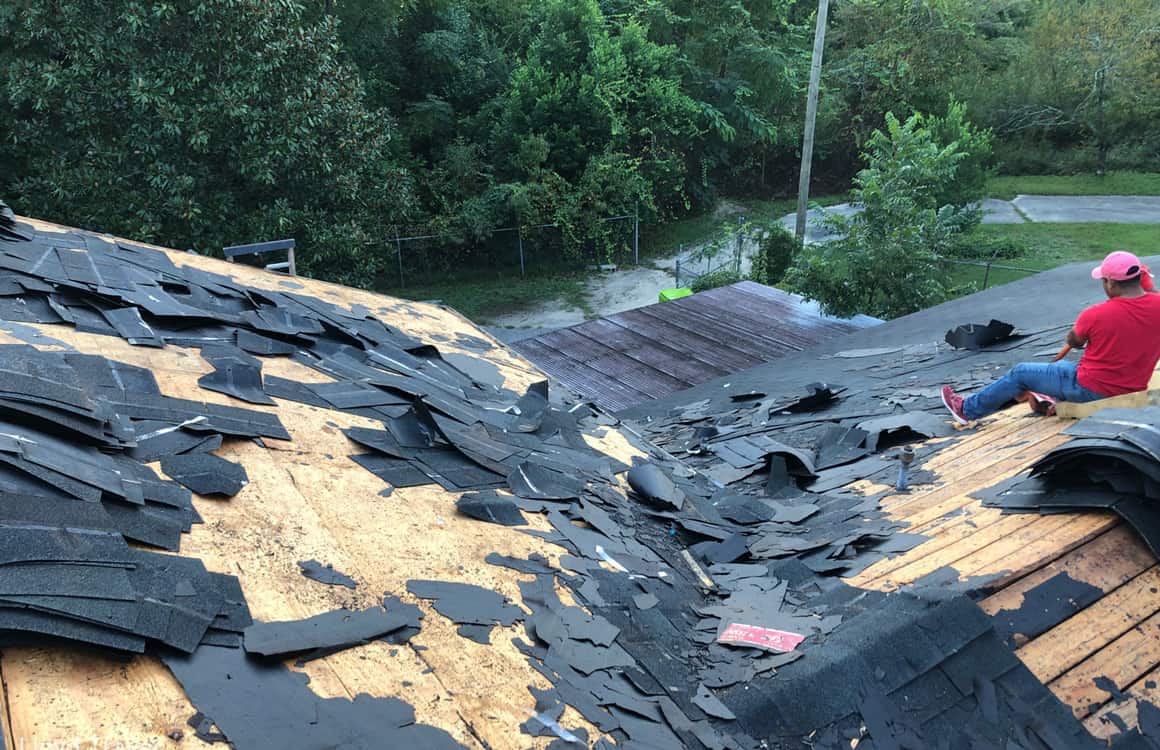
When the installation day arrives the first thing that your roofer will do is remove the old shingles from your roof.
In the past, it wasn’t uncommon for new shingles to be laid directly atop old roofs – but that practice generally voids new shingle warranties and is often against local code. When you are getting a new roof installed it is objectively better to remove the old shingles first!
Removing old shingles is a fast process for a professional roofer and often can be accomplished in a half day or less.
Assess the condition of the roof deck
Once the shingles have been removed, the wood sheathing that they sat upon will be visible. At this juncture it is important to inspect the roof deck for signs of water damage, rot, or other signs of trouble. Any compromised pieces of wood decking should be replaced, as they will not provide a suitable base for the new roofing materials.
Prepare the roof deck
With the roof deck exposed, the next step is to remove existing roof hardware like flashing and vents, making way for new hardware. Removing old hardware is important as these are common failure points as flashing and vents may begin to corrode over time, providing an ingress point for water.
Depending on the design of your roof, roof deck preparation may involve replacing your ridge cap or ridge vents and installing new metal drip edges. Depending on the slope of your roof, your contractor will also put down an ice and water shield. These waterproof sheets protect your roof from water pooling underneath the shingles and are typically found in low-slope areas and roof valleys.
In addition to ice and water shields, your roofer will also install an underlayment. Underlayments are similar in function to ice and water shields, although they are used in areas which are less exposed to wind-blown rain, pooled water, or ice dams.
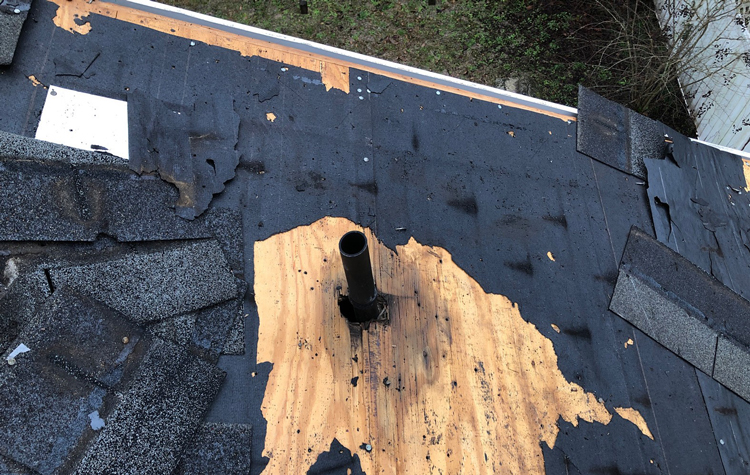
All of this might sound like a lot – after all your old roof looked like it was just asphalt shingles! However, roofs are actually better understood as comprehensive systems which work together to produce a robust, weather-resistant barrier which will last for decades to come.
Mid-Roof Inspection
In some jurisdictions, local code dictates that a mid-roof inspection take place. This process usually takes place after the roofing underlayment is installed, although in some cases the inspection may occur with the shingles partially in place.
If this process is required, your roofer will make the arrangements for the inspection. Expect this to add about a day to the installation time as your roofer will need to complete the first stage of the roofing project, wait for the inspectors approval, and only then be able to finish the installation.
Install the new roof
With all of the roof deck preparation complete the shingles can begin to be installed. If you’ve chosen a type of roofing material other than an asphalt shingle roof, there may be material-specific preparations that need to happen first.
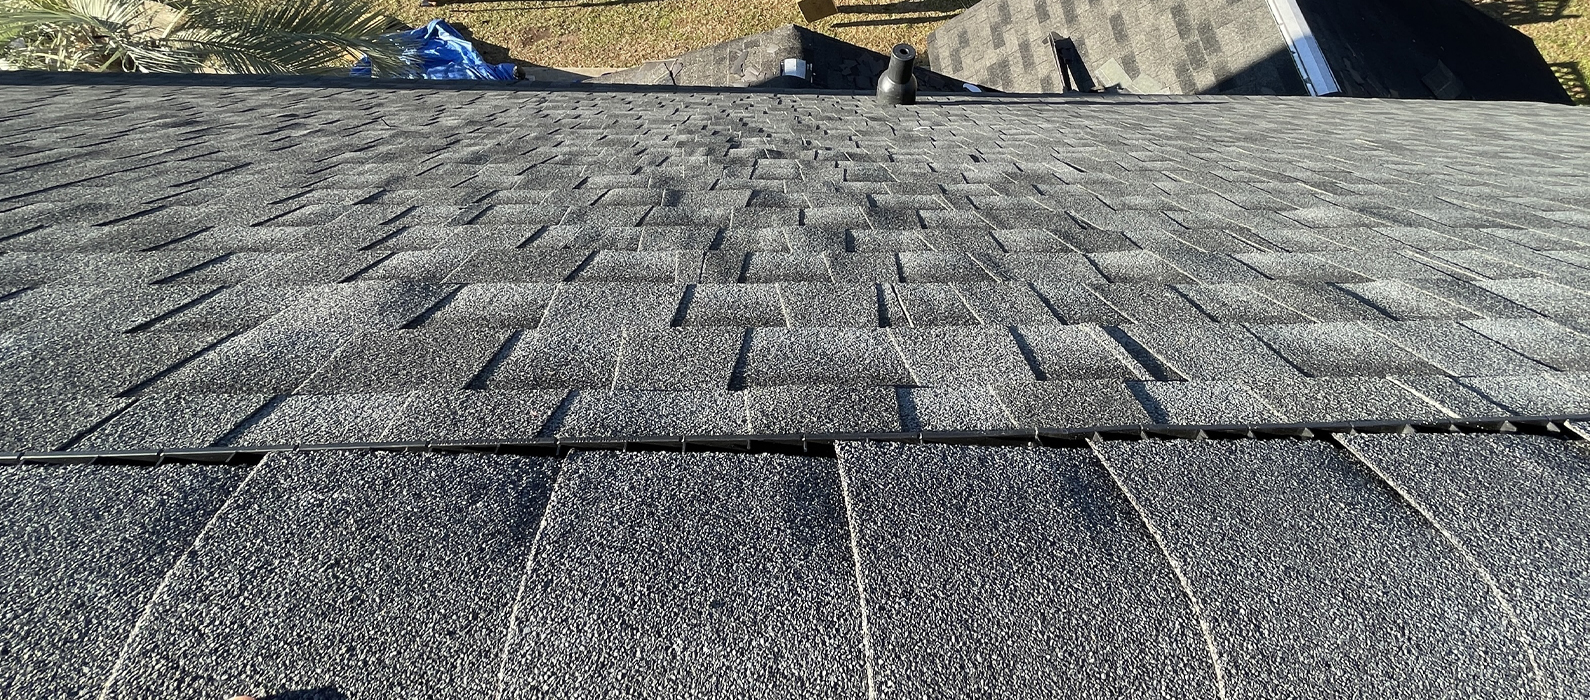
When installing 3-tab shingles, the first layer placed along the edge of the roof is known as starter shingles.Budget installers may just use normal shingles with the tabs cut off, while professional roofers use dedicated starter shingles which are specially designed for the task. Layers of shingles are then installed from bottom to top, overlapping as they go.
Clean up after the roof replacement
When done correctly, 95% of the cleaning process will have taken place during the roof installation. Saving all of the cleanup to the end is an amateur’s mistake and a professional roofing company will clean as they go.
However, while most of the cleanup happens along the way, there will always be some cleaning that needs to happen after the final shingle is installed. Your roofer will blow the roof and clean your gutters to remove as much loose grit as possible. Afterwards they will sweep the edges of your property with a powerful magnet to pick up any loose nails.
Finally, they’ll conduct a walk-through around your property, blow off any wood shavings or roofing granules, collect their tools, and haul away their trailers.
Final inspection
After the project is completed, your roofing company’s project manager will perform a final inspection to ensure that everything is up to spec. Throughout the process they’ll have kept tabs on the project, but one final walkthrough ensures that your new roof is ready to start its long life protecting your home from the elements.
How long does it take to replace a roof?
Replacing a roof is a big job, but that doesn’t necessarily mean that it will take a long time. The exact amount of time required will vary depending on the complexity of your roof, the material you choose, the local inspection regulations, and the size of the installation crew.
Large roofs with steep pitches, difficult access, or numerous and complicated eaves will take longer to install than smaller, uncomplicated roofs with shallow pitches. Your roofer will be able to give you a better estimate of the amount of time that your roof will require.
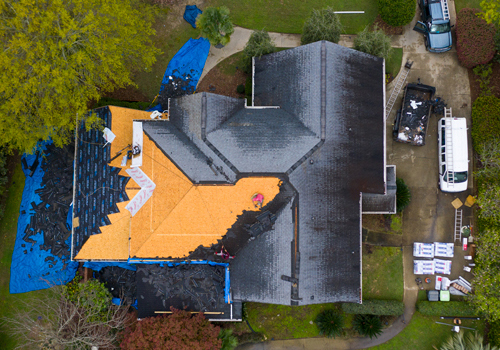
Asphalt shingle roofs can be installed in as little as 1 day, with more complicated roofs taking upwards of 3 days. Metal and tile roofs tend to take the longest to install, with an average installation taking 6 days and more complex installations taking up to 2 weeks.
Roofs are a Big Decision
As you can see, roof replacements are an involved process. Choosing the right roofer is the most important step, as a high quality installation will ensure that you get the promised lifespan out of your new roof. Be sure to look at reviews and find a reputable, local installer.
If you’re in South Carolina, Rennison Roofing has been installing roofs for 20 years and is one of the region’s most trusted roof repair and installation contractors.
